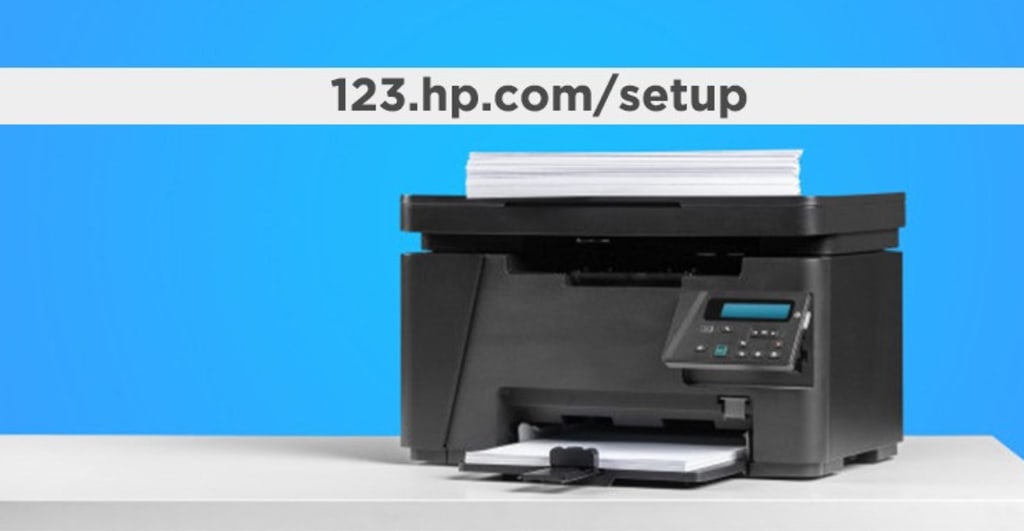
Setting up your 123.hp printer is the first step to unlocking the world of efficient and high-quality printing. In this comprehensive guide, we will walk you through the step-by-step process of installing and setting up your 123.hp printer for hassle-free, top-notch printing. Whether you’re new to printer 123.hp setup or looking for a refresher, this guide has got you covered.
Step 1: Unboxing Your 123.hp Printer
- Carefully unpack your 123.hp printer, ensuring you remove all packaging materials and accessories.
- Place the printer on a flat, stable surface close to a power outlet and your computer or network router.
Step 2: Power and Connection
- Connect the power cord to your printer and plug it into a power outlet.
- Power on your printer using the printer’s power button.
Step 3: Loading Paper
- Adjust the paper width guides in the input tray to accommodate the paper size you plan to use.
- Load a stack of plain, white paper into the input tray.
Step 4: Installing Ink Cartridges
- Open the ink cartridge access door.
- Wait for the carriage to become idle and silent.
- Insert the ink cartridges into their corresponding slots with the color label matching the slot.
Step 5: Installing Printer Software
- Insert the provided installation CD or visit the 123.hp website to download the printer software and drivers.
- Follow the on-screen instructions to install the software on your computer.
Step 6: Network Connection
- For wired connection:
- Use the provided USB cable to connect your printer to your computer.
- For wireless connection:
- Follow the prompts on your printer’s control panel to connect to your Wi-Fi network.
- You may need to enter your network name and password.
- The printer software installation process may also guide you through the Wi-Fi setup.
Step 7: Testing Your Printer
- Print a test page to ensure your 123.hp printer is working correctly.
- Check the print quality and alignment to verify proper installation.
Setting up your 123.hp printer is a straightforward process when you follow the steps outlined in this comprehensive guide. By unboxing your printer, connecting it to power, loading paper, installing ink cartridges, setting up the software, and establishing a network connection, you’ll be ready to enjoy smooth and high-quality printing from your computer or mobile devices.
How to Connect Your HP Printer to Wi-Fi: Step-by-Step Methods
Connecting your HP printer to Wi-Fi opens the door to convenient and wireless printing from multiple devices. In this comprehensive guide, we’ll explore different methods to connect your HP printer to a Wi-Fi network, catering to various models and network environments. Get ready to enjoy the flexibility and convenience of Wi-Fi printing.
Method 1: Wi-Fi Setup Using Control Panel
This method works for HP printers with a touchscreen control panel.
Step 1: Power On Your Printer Ensure your HP printer is turned on and in a ready state.
Step 2: Access the Control Panel Navigate to your printer’s control panel, typically located on the front.
Step 3: Access Network Settings Find the “Wireless” or “Network” option on the control panel and select it.
Step 4: Select Your Network Your printer will scan for available Wi-Fi networks. Choose your network and enter the password when prompted.
Step 5: Confirm Connection After entering the Wi-Fi password, your printer will connect to the network and display a confirmation message.
Method 2: Wi-Fi Setup Using HP Smart App
This method is ideal for mobile device users.
Step 1: Download HP Smart App Install the HP Smart app on your mobile device (available for iOS and Android).
Step 2: Open the App Launch the HP Smart app and tap on the “+” sign to add your printer.
Step 3: Connect to Wi-Fi Follow the on-screen prompts to connect your printer to Wi-Fi, providing network details when required.
Method 3: Wi-Fi Setup Using WPS (Wi-Fi Protected Setup)
This method is suitable if your router supports WPS.
Step 1: Enable WPS on Your Printer Access your printer’s control panel and enable the WPS feature.
Step 2: Press WPS Button on Router Press the WPS button on your Wi-Fi router.
Step 3: Confirm Connection Your printer will connect to the Wi-Fi network once the WPS connection is established.
Method 4: Wi-Fi Setup Using HP Wireless Setup Wizard
This method is useful when your printer doesn’t have a touchscreen control panel.
Step 1: Print Network Configuration Page Print a network configuration page from your printer. Instructions can usually be found in the printer manual.
Step 2: Note the IP Address On the network configuration page, find the IP address assigned to your printer.
Step 3: Access Printer’s Embedded Web Server Open a web browser and enter the IP address in the address bar.
Step 4: Configure Wi-Fi Access the printer’s web-based setup page and configure Wi-Fi settings, providing your network details.
How to connect HP printer to wifi is a crucial step in enjoying the convenience of wireless printing. By following these methods, you can establish a reliable connection, allowing you to print from your computer, smartphone, or tablet without the need for cumbersome cables. Choose the method that best suits your printer model and network environment, and start enjoying hassle-free Wi-Fi printing