Introduction:
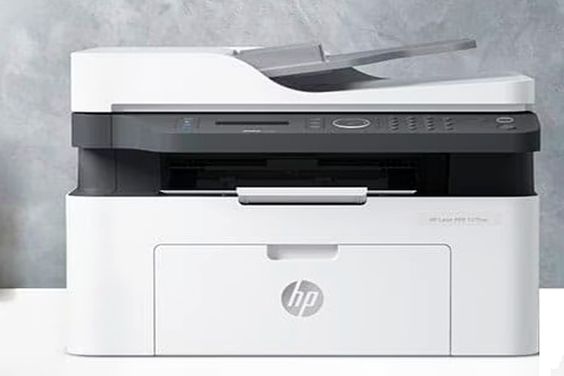
The HP DeskJet 3755 is a compact and efficient all-in-one printer that offers convenience and high-quality printing. Connecting it to WiFi not only enables wireless printing but also allows for easy access from multiple devices. In this guide, we will walk you through the step-by-step process of connecting your connect HP DeskJet 3755 to WiFi.
Step 1: Unpack and Set Up the Printer Start by unpacking your HP DeskJet 3755 and placing it on a stable surface. Remove any packaging materials and install the ink cartridges following the instructions provided in the printer’s manual. Power on the printer and complete the initial setup process using the control panel on the front of the device.
Step 2: Check WiFi Requirements Ensure that your WiFi network meets the printer’s requirements. The HP DeskJet 3755 supports standard WiFi networks with WPA or WPA2 security protocols. Make sure you have the WiFi network name (SSID) and password on hand.
Step 3: Access the Control Panel Navigate to the control panel on the front of the printer. Press the Wireless icon or button to initiate the wireless setup process. The icon looks like a wireless signal or may be labeled with “Wireless” or “WiFi.”
Step 4: Run the Wireless Setup Wizard On the control panel, locate and select the “Wireless Setup Wizard” option. The printer will search for available WiFi networks. Choose your WiFi network from the list and enter the WiFi password when prompted. Use the arrow keys on the control panel to navigate and the OK button to confirm your selections.
Step 5: Confirm Connection Once you’ve entered the WiFi password, the printer will attempt to connect to the network. After successfully connecting, a confirmation message will appear on the control panel. Your HP DeskJet 3755 is now connected to WiFi.
Step 6: Install Printer Software on Your Computer For seamless wireless printing, it’s essential to install the necessary printer software on your computer. Visit the HP website or use the installation CD that came with your printer to download and install the latest drivers and software. Follow the on-screen instructions to complete the installation.
Step 7: Test the Connection Print a test page to ensure that the wireless connection is working correctly. Open a document or image on your computer, choose the HP DeskJet 3755 as your printer, and click “Print.” Verify that the printer responds, and the printed page matches your expectations.
Conclusion:
Connecting your HP DeskJet 3755 to WiFi is a straightforward process that enhances the functionality and accessibility of your printer. By following these step-by-step instructions, you’ll be able to enjoy the convenience of wireless printing from various devices. If you encounter any issues, refer to the printer manual or visit the HP support website for troubleshooting tips and assistance.