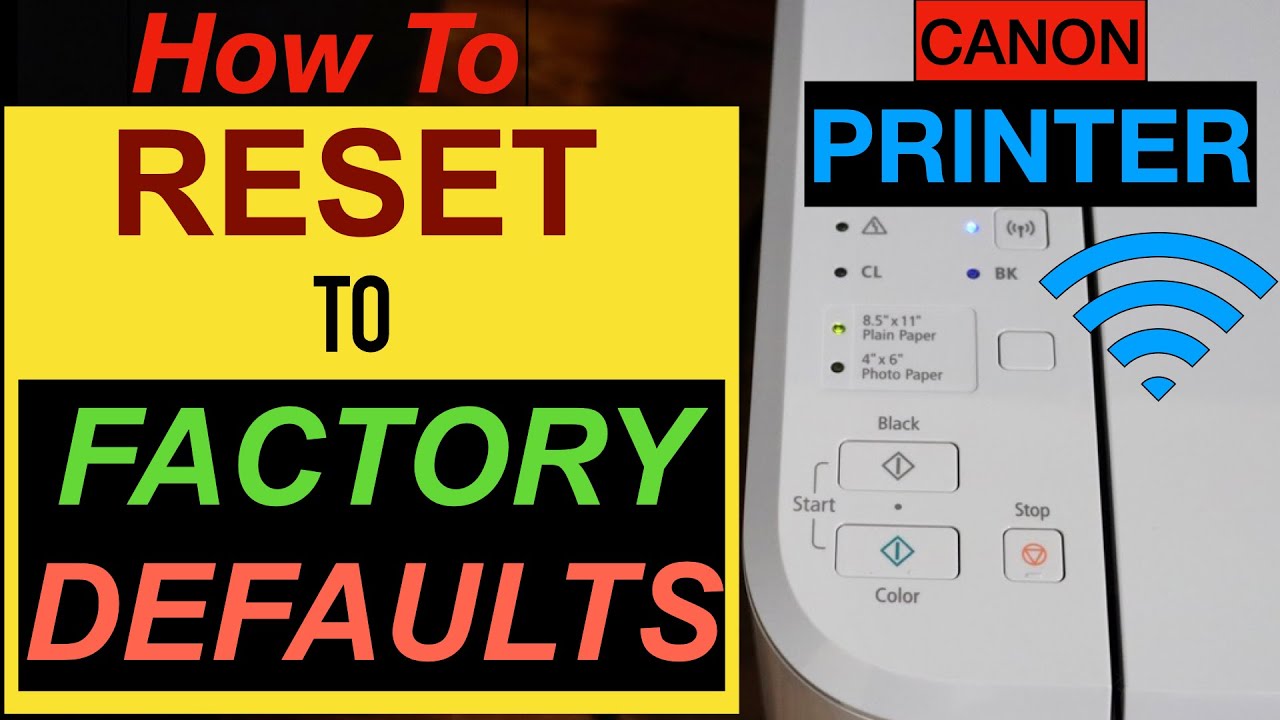
Canon printers are known for their reliability and high-quality output, but there may come a time when you need to reset your Canon printer to its factory settings. Whether you’re encountering technical issues, want to clear custom settings, or are preparing to sell or donate your printer, a factory reset can be a useful solution. In this comprehensive guide, we’ll walk you through the process of How to reset a Canon printer to its original factory settings, ensuring a fresh start for your printing device.
1. When Should You Reset Your Canon Printer?
Resetting your Canon printer to factory settings is a significant step that should be taken under specific circumstances. Consider performing a factory reset when:
- Your printer is experiencing persistent technical issues that cannot be resolved through standard troubleshooting.
- You plan to sell or give away the printer and want to remove your personal settings and data.
- You need to return the printer to its original configuration for any reason.
2. Backup Your Printer Settings
Before proceeding with a factory reset, it’s essential to back up your printer’s settings and configurations. This backup will enable you to restore your preferred settings after the reset. Here’s how to do it:
- Access your printer’s menu or control panel and navigate to the settings or configuration section.
- Select the option to save or export settings. This process may vary depending on your specific Canon printer model.
- Save the backup file to a location on your computer or an external storage device.
3. Performing a Factory Reset on a Canon Printer
The process of resetting a Canon printer to factory settings may vary depending on your printer model. However, the following general steps can guide you through the process:
-
Access the Printer Menu: On your printer’s control panel, navigate to the “Settings” or “Setup” menu. Look for an option like “Device Settings” or “Reset.”
-
Factory Reset: Within the settings menu, you should find an option for resetting the printer to its factory default settings. This option may be labeled as “Factory Reset,” “Reset All Settings,” or something similar.
-
Confirm the Reset: Select the factory reset option, and your printer will display a confirmation message. Confirm your choice to proceed with the reset.
-
Reset Process: The printer will start the reset process, which may take a few minutes. Once completed, your printer will return to its original factory settings.
4. Configuring Your Canon Printer After Reset
After the factory reset, you’ll need to reconfigure your Canon printer to your preferences. Here’s how to get started:
-
Set Language and Region: When you turn on your printer, it will prompt you to select the language and region. Make your choices and proceed.
-
Connect to Wi-Fi: If your printer is wireless, you’ll need to connect it to your Wi-Fi network. Follow the on-screen instructions to enter your Wi-Fi password and complete the connection.
-
Install Printer Drivers: If you’re using the printer with a computer, ensure you have the necessary printer drivers installed. You can download these from the Canon website for your specific printer model.
-
Update Firmware: Check for firmware updates on the Canon website and ensure your printer has the latest firmware installed.
-
Restore Settings: If you backed up your printer settings before the reset, you can now restore them. Access the settings menu on your printer and import the backup file.
5. Troubleshooting Common Issues After Reset
After resetting your Canon printer to factory settings, you may encounter some common issues. Here are some troubleshooting steps to address them:
-
Ink Cartridge Errors: If your printer displays ink cartridge errors, remove and reinsert the cartridges. Make sure they are correctly installed.
-
Wi-Fi Connection Problems: If you’re experiencing Wi-Fi connection issues, double-check your network settings and ensure you’ve entered the correct password.
-
Print Quality Problems: If print quality has deteriorated after the reset, run a print head cleaning or alignment process. This can often resolve issues like blurry or streaky prints.
-
Driver Installation Errors: If you encounter errors during driver installation, ensure you’ve downloaded the correct drivers for your printer model and operating system. Reinstall the drivers if necessary.
-
Firmware Update Failures: If a firmware update fails, make sure your printer is connected to the internet and try the update again. Ensure your printer is fully operational before attempting firmware updates
Setting Up Your Canon Printer Wirelessly: A Comprehensive Guide
Setting up your Canon printer wirelessly offers convenience and flexibility, allowing you to print from various devices without the hassle of cables. The http://ij.start.canon setup website is your gateway to a seamless wireless setup experience for your Canon printer. In this comprehensive guide, we’ll walk you through the step-by-step process of configuring your Canon printer wirelessly using http://ij.start.canon, ensuring you can enjoy hassle-free printing from your computers, smartphones, and tablets.
1. Understanding the Benefits of Wireless Printing
Wireless printing is a game-changer in the world of convenience and productivity. Here are some of the key advantages:
-
Print from Anywhere: With a wireless setup, you can print from any room in your home or office, even if your printer is located elsewhere.
-
No Cable Clutter: Say goodbye to tangled cables and clutter. Wireless printing eliminates the need for physical connections.
-
Multiple Device Printing: You can print from various devices, including computers, smartphones, and tablets, as long as they are connected to the same Wi-Fi network.
-
Easy Sharing: Wireless printing makes it easy to share a single printer among multiple users.
2. Preparing for Wireless Setup
Before you begin the wireless setup process, you’ll need to ensure the following:
-
Wi-Fi Network: Make sure you have a Wi-Fi network in your home or office with a working internet connection.
-
Network Password: Have your Wi-Fi network’s password handy. You’ll need it during the setup.
-
Canon Printer: Ensure your Canon printer is set up, powered on, and in a ready state.
-
Computer or Mobile Device: You’ll need a computer, smartphone, or tablet with internet access to access the http://ij.start.canon setup page.
3. Connecting Your Canon Printer to Wi-Fi
Follow these steps to connect your Canon printer to your Wi-Fi network:
-
Power On the Printer: Ensure your printer is powered on and in a ready state.
-
Access the Setup Menu: Use the control panel or touch screen on your Canon printer to navigate to the wireless setup or network settings menu. The exact steps may vary depending on your printer model.
-
Select Wi-Fi Network: From the list of available Wi-Fi networks, select your network. You may be prompted to enter your network password.
-
Enter Network Password: If prompted, enter your Wi-Fi network password using the printer’s input method (buttons, touchscreen, or keypad).
-
Complete the Connection: Once you’ve entered the password, your printer should connect to the Wi-Fi network. Verify the connection by printing a network settings page from your printer.
4. Setting Up the Canon Printer on http://ij.start.canon
Now that your printer is connected to your Wi-Fi network, it’s time to set it up on the http://ij.start.canon website. Follow these steps:
-
Access http://ij.start.canon: Using a web browser on your computer or mobile device, go to http://ij.start.canon.
-
Select “Set Up”: On the http://ij.start.canon homepage, click on the “Set Up” option.
-
Choose Your Printer: You’ll be prompted to select your printer model from a list. Find your printer and click on it.
-
Download and Install Software: Follow the on-screen instructions to download and install the necessary setup software for your printer. This software will help you configure your printer.
-
Follow Configuration Steps: Once the software is installed, follow the configuration steps, which typically include selecting your Wi-Fi network and entering the network password.
-
Complete the Setup: After you’ve entered the required information, complete the setup process. Your printer will be configured to work wirelessly with your selected devices.
5. Troubleshooting Wireless Setup Issues
If you encounter issues during the wireless setup process, consider these troubleshooting steps:
-
Check Network Password: Ensure you’ve entered the correct Wi-Fi network password. It’s case-sensitive, so double-check for accuracy.
-
Signal Strength: Verify that your printer is within the range of your Wi-Fi network. Weak signals can lead to connection problems.
-
Update Firmware: Ensure your Canon printer has the latest firmware installed. You can check for firmware updates on the Canon website for your specific model.
-
Firewall or Security Software: If you have security software or a firewall on your computer, make sure it’s not blocking the printer setup process. Temporarily disable the software and try the setup again.
-
Restart Devices: Sometimes, a simple restart of your printer, computer, or mobile device can resolve connectivity issues