Screenshots are the digital images which contents and captures a computer’s or phone’s display. These are basically created by the software that you are running on the device which is powering the display or by the operating system. It is important to note that taking screenshots is very vital for a lot of things, like copying incriminating messages and photos, investigating bullying and more.
And so screenshots are not helpful for demonstrating the computer programs and accessing the resources present online when you are not having an Internet connection, but could also be very useful for recording the evidence of cyberbullying (if ever faced). But we all know how to take a screenshot on our mobile phone’s but less people know about PCs. So if you also don’t know how to screenshot on pc, then we got you covered through this article.
As you scroll down, you will find out complete details about taking a screenshot on a PC, such as how to take it on Windows and a few other things related to it. So just continue to read below to check out all the info.
How to screenshot on pc?
- In order to take a screenshot on windows, follow the steps below-
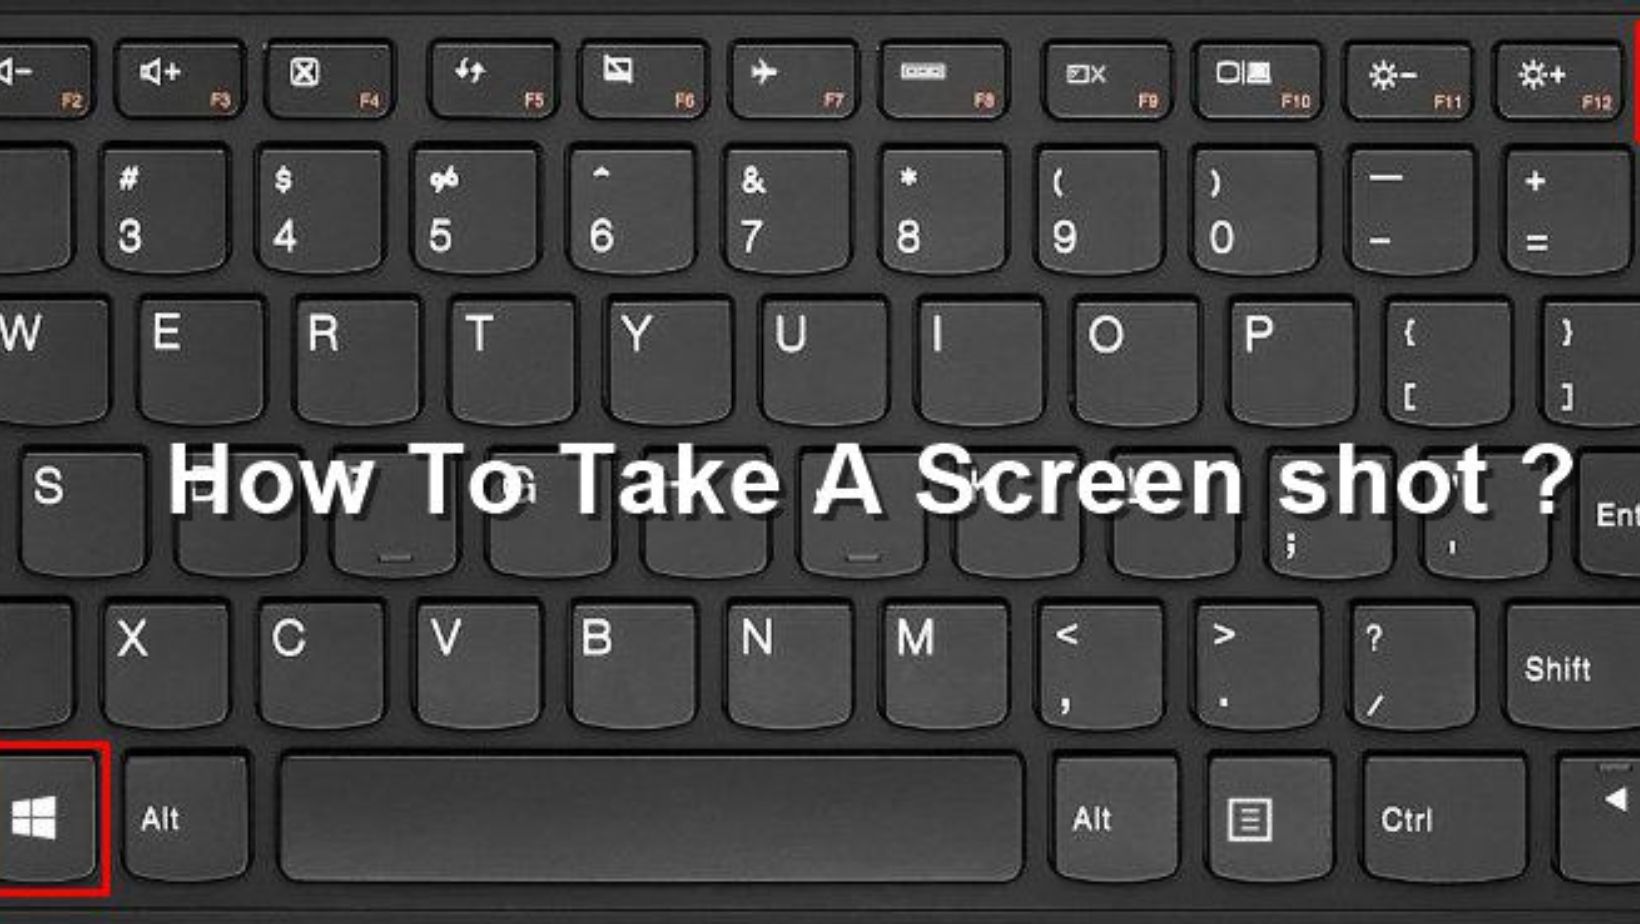
- Hit the PrtScn button or the Print Screen button to take a screenshot on the whole screen- So when you are using windows, all you need to do to take a screenshot is to press the print screen button, which is located in the top right of the pc’s keyboard. As you do this, it will take a screenshot of the entire screen.
And you might not know this, but hitting on this button actually copied the image of your screen to the clipboard. So you might wonder where it goes exactly? Well, you actually need to do something to see this, and that is you simply open Word or any other program from editing to view, edit and save this image in your device.
To understand it better, simply click on Ctrl + V and it will paste. This is basically a shortcut instead of right clicking on the mouse and selecting the thing to paste. And if you want to only paste the active window, then press on the PrtScn and Alt buttons all together, and then paste it in your document.
- Users can also use the snipping tool programs to crop or edit your screenshot- So if you are having any difficulty in using the print screen button or in locating it, then you can also prefer to use the snipping tool (this is another method for how to screenshot on pc). This is basically a tool which comes with the Windows 7, Windows Vista & a few other products of Windows for no extra cost.
This tool simply allows you to take a screenshot very easily by clicking on ‘New’ and then just selecting the part which you want to capture as a screenshot. And then you can just edit this screenshot that you have taken using the pen tools and highlighter.
This is one of the widely used tools for taking a screenshot in window pc’s , because there are a lot of laptops which do not have a PrtScn button. Though the user manual that comes with the laptops usually has details of the key combinations that can be used to take a screenshot, still if you find any problem, you can always use these tools to do it.
- And to take a screenshot on a Mac, follow the steps as follows- So when you are using a Mac, all you need to do to take a screenshot is press the Command, Shifts and 3 buttons all together to take a screenshot of the whole screen. And if you want to take it out of some particular area, then you can just press on Shift, Command and 4 keys.
You can also use a grab tool to take the screenshot- So a famous alternative to take screenshots on Mac instead of using the keyboard keys is by using a grab tool. Grab is basically a program which is included in Mac for absolutely free. And so this is one of the widely used tools to take a screenshot, which you can also prefer if you don’t want to use the normal key combination.
Now as you know how to screenshot on pc, do you also know that you can also screenshot several windows in a row? Well if you don’t, below are the steps for you.
How to take a screenshot of multiple windows ?
- Firstly go to the initial screen that you wish to capture- This simply means that you have to open the first page of the sequence of your screenshots.
- So in the next step all you need to do is click on Windows + S. This will activate the search bar of Windows.
- Now, type psr.exe and click on ‘enter’. This will open the step recorder in Windows.
- Now, click on the ‘start record’ button. This is basically present at the top of the toolbar, and as you will do it, it will start the step recorder, which will actually record the next 25 screens that you change.
- And if you wish to record more than 25, then you have to first click on the arrow present at the right side of the toolbar, then click on ‘settings’ and here change the number of the ‘number of screen captures to store’ in the device.
- Now just click through the different screens m- So each time you will change you screen, the Windows step recorder will take a screenshot of it.
- And once you are done, click on ‘stop record’ which will be present at the top of the toolbar. As you will do it, it will stop all the screen changes and will open up the Window of results.
Thus, this is complete information on how to screenshot on pc– Windows . So just follow the steps as they are mentioned above and you will be all done with it!